

Using the ZWO Seestar S50 Smart Telescope on Open Nights
July 2024 :
Two excellent articles on using the Seestar S50 smart telescope by ZWO appeared in the April 2024 edition of “The Skyscraper.” Jeff Padell provided an overview of the scope, emphasizing its ease of use. He has constructed a small window platform that enables using the scope from the comfort of his home. I wish I had a south-facing window that would allow for a similar setup from my house! Greg Shanos did a walk-through of lunar imaging with the Seestar. I highly recommend going back to that issue for a full discussion of the scope.
 My emphasis here is using the Seestar on public nights and events. For example, looking through the 12” Meade at M13 can be a bit disappointing after telling visitors that it is a beautiful, large cluster of stars. After all, it really only looks like a gray smudge, let’s admit. If someone were imaging the same object with the Seestar, visitors could have a more satisfying experience. Such unintended coordination of imaging occurred at Seagrave after the June members meeting.
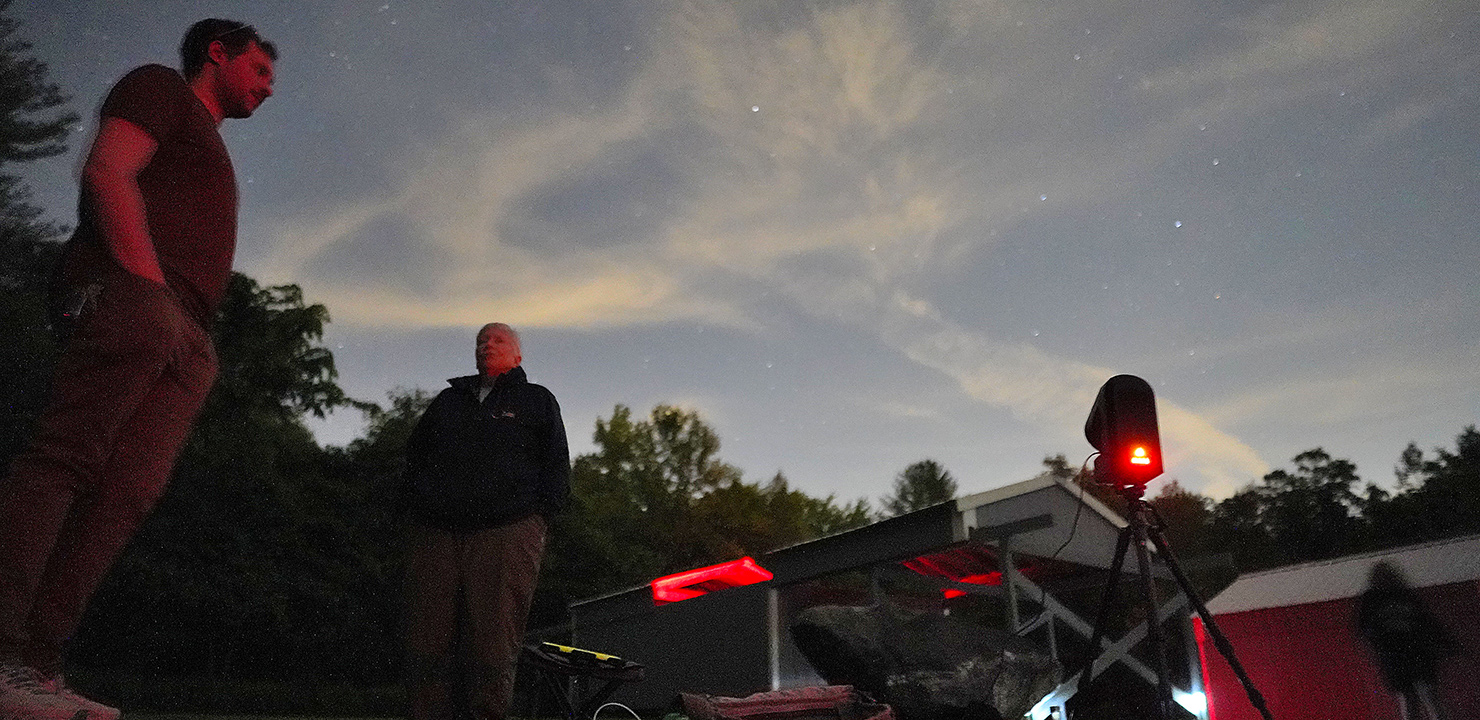
I set up my Seestar in the space between the meeting hall, the Clark, and near the 12. I used a taller tripod than that supplied with the scope. I leveled the tripod, then mounted a leveling base like the ones used by Jeff and Greg, with the scope on top. I turned on the Seestar and synced it with my seven-inch Android tablet. I purchased that tablet with 64Gb memory for exclusive use with the Seestar. That way I have no concerns about running out of memory on my device. I connected both the tablet and the scope to an external power brick.
After calibrating the compass and leveling the scope (both functions described by Jeff and Greg), I selected M13 from among the objects suggested for viewing that night. Up comes a page describing the object, along with an image and a graph depicting its elevation throughout the night, with a point on the graph giving its current elevation. From that page, I selected “Go Gazing” so the scope would slew to M13. Within a couple of minutes, the scope announces that it has found the object. Yes, it does talk to you!
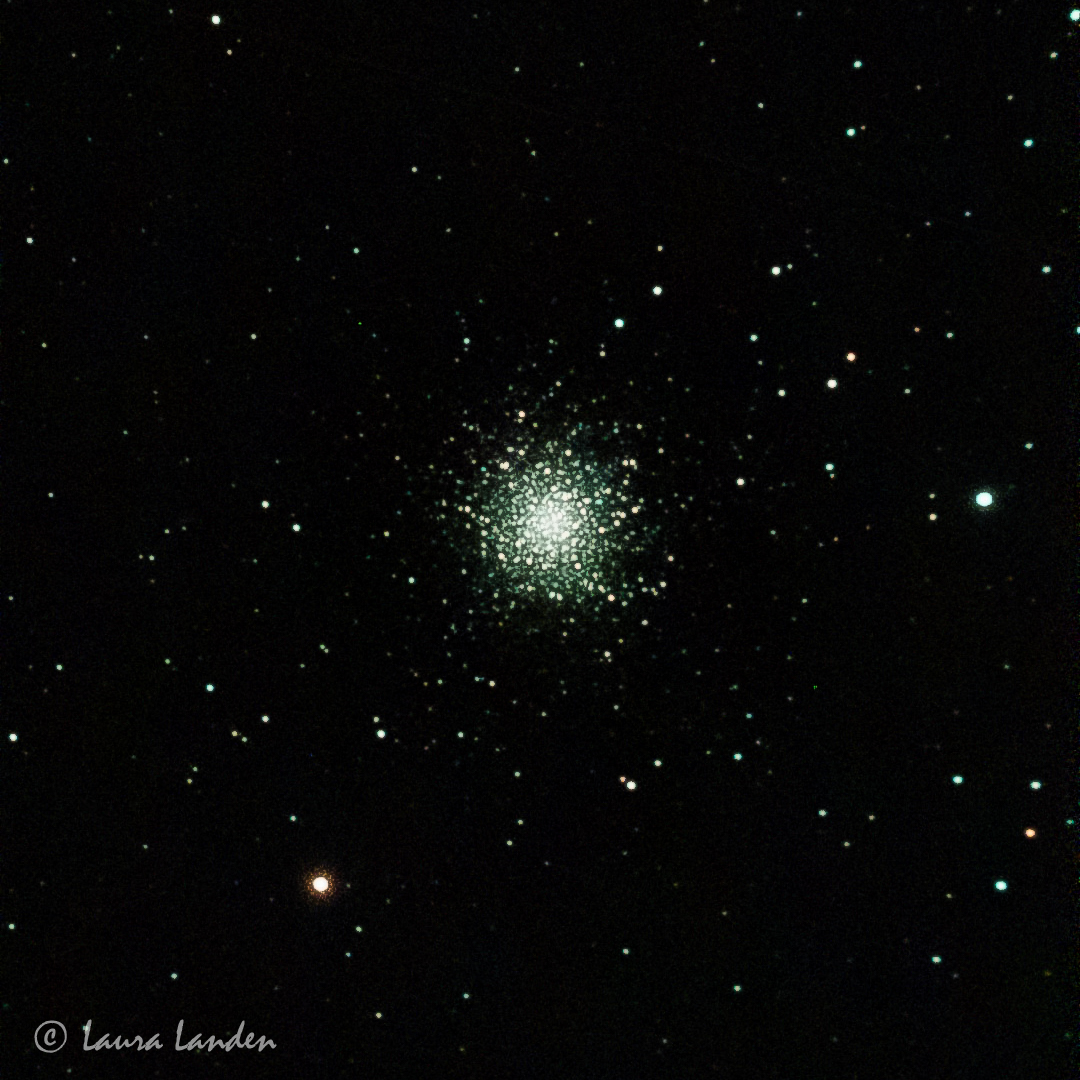
M13 doesn’t look like much until the scope begins to stack images. However, this is the point at which to focus. I start with autofocus, but sometimes I’m not entirely satisfied with the result. Within the settings is the option for manual focus, which is my preferred method. Once the stars are sharp, I begin imaging. The options are 10, 20, or 30 second images. You can continue stacking as long as you like, or until further images no longer sync with the composite. Below are two images, one the jpeg directly from the scope, the other one with a few simple edits in Lightroom. The image is 30 minutes stacked of 20 second exposures.
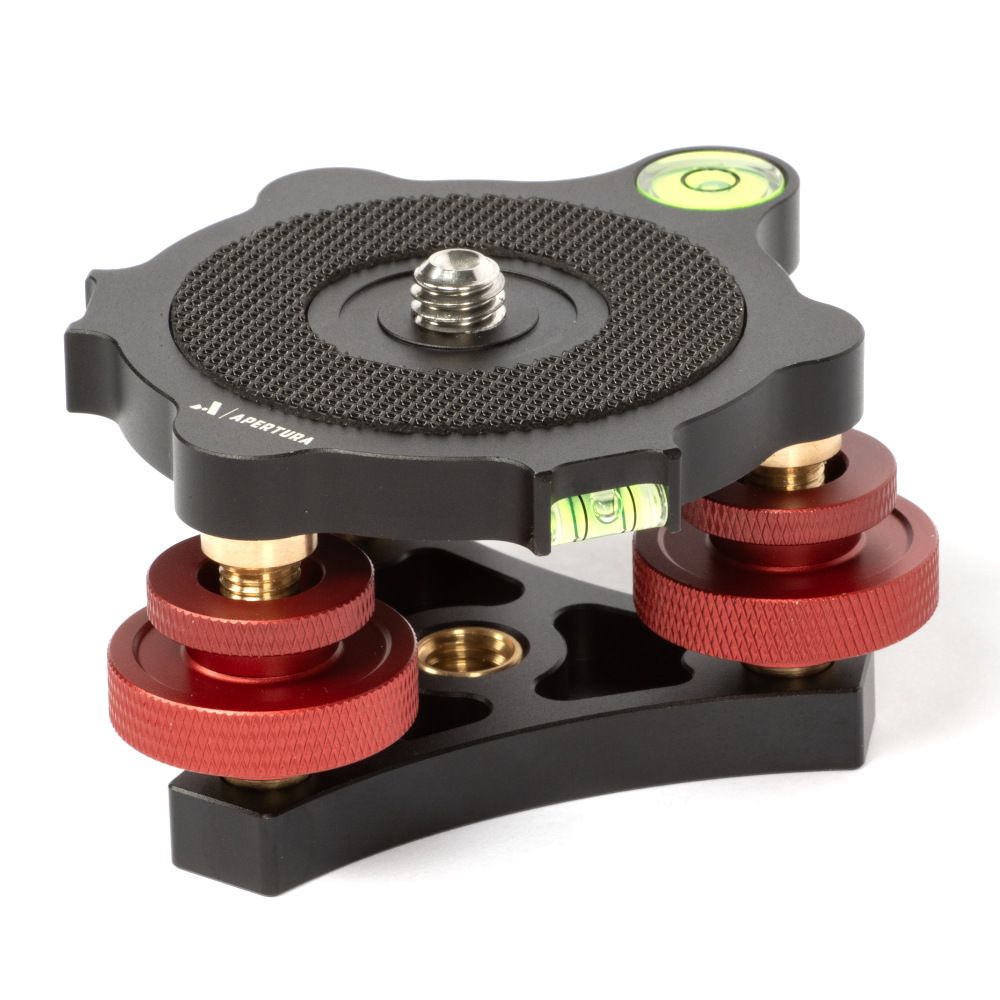 Let me add one final note. There are third-party accessories available, if you can believe it. I found the leveling base on Amazon (or B&H Photo, can’t remember which). It’s a commonly available item, highly recommended. I’ve included a photo below. Also, Lukomatico has made 3-D printed accessories that are helpful. He has made a lens cap (good for storage), a Bahtinov mask (if even the manual focus does not satisfy), and a holder for two-inch filters. A Google search for “Lukomatico Etsy” will take you to his Etsy page, if interested.
In conclusion, I think using the Seestar to image the same objects that are being viewed by the 12” Meade would make for an enhanced visitor experience.
